For those of you who don't know what negative space nail art is, it is a design that has an element incorporated where there is no nail varnish on the nail. It has empty space alongside polish.
Here is the design I'm going to show you:
 |
Base coat
Acrylic paint in black, white and a colour or colours of your choice (nail polish will do but paint dries faster and removes easier too. If you decide to use nail polish just replace each ‘paint’ with polish in the step by step)
Top coat
Striper brush
Small brush
Large and small dotting tools
You need to begin by painting the base coat onto your nails.
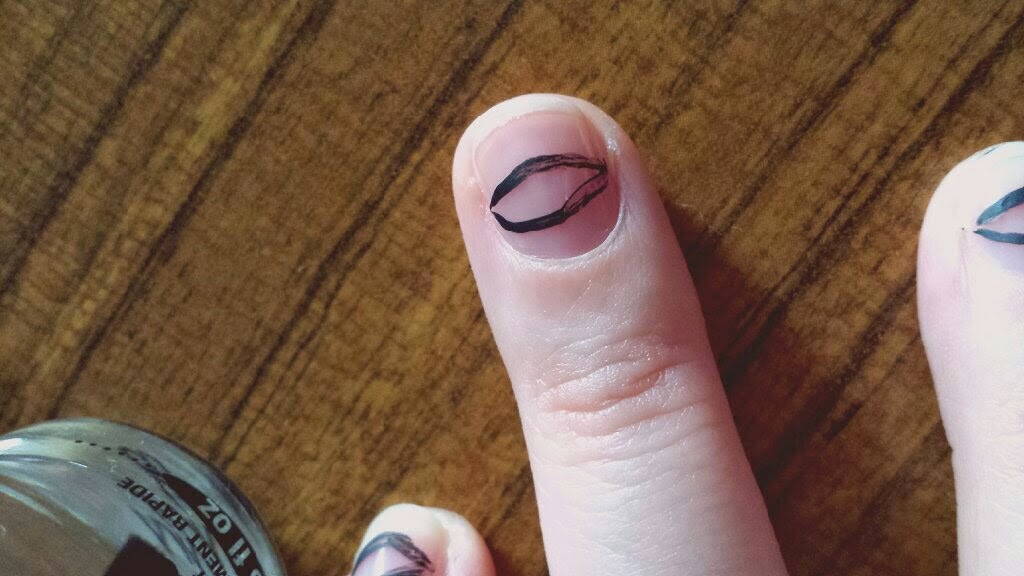
When the base is dry (which doesn't normally take long) you need to get your black paint onto your palette. Dip your striper brush into the black and draw two curved lines on to your nail to create an oval eye shape. Continue to do the same on each nail.
 |
| Striper brush |
This is the brush that I used, but I actually recommend that you use a smaller one.
Don’t worry if it looks messy! We can tidy it up later. I don’t have the steadiest hand so sometimes my lines can be untidy when painting nail art on my own nails. I am so much neater when painting other peoples nails!
Next, use the small brush to fill each eye shape in with white paint.
When dry, add any colour of your choice to the palette. I chose green.
I was originally going to use a range of colours, one for each nail. However, when I opened my green paint there was a little bit of an accident that resulted in green paint going everywhere (as witnessed by my dirty green finger that was a victim of said accident). Due to the excess of green paint I decided to just use one colour.
Dip your large dotting tool into the paint and add one dot into the centre of each eye shape. Remember to dab your dotting tool back into the paint after each dot or else the sizes may end up different!
After the iris is dry, you need to get your small dotting tool and use the black paint to dab tiny dots into the centre of your previous dots to create the pupils of each eye.
If you made a mess when adding the lines to your nails, use the dotting tool with the black paint to tidy up the best you can. You can also use the dotting tool to add little eyelashes at this point!
To finish off you need to grab your top coat. I recommend using two layers of top coat as the lack of nail polish can make the base/top coat combo peel after a day or so otherwise. :( Alternatively, you could use a layer of clear polish before getting started with the paint.
Have you tried negative space nail art before? What are your ideas?
Let me know in the comments below! :)


These are... AMAZING. I've never thought to use actual paint on my nails before. Do you use nail polish remover to remove it?
ReplyDeleteThis was a really good tutorial :)
Tequila Mockingbird <3
I'm glad you like them! :D
DeleteYeah it comes off super easily with nail varnish remover! They're so fantastic for nail art because they dry so quickly and are much easier to apply little details with. :)